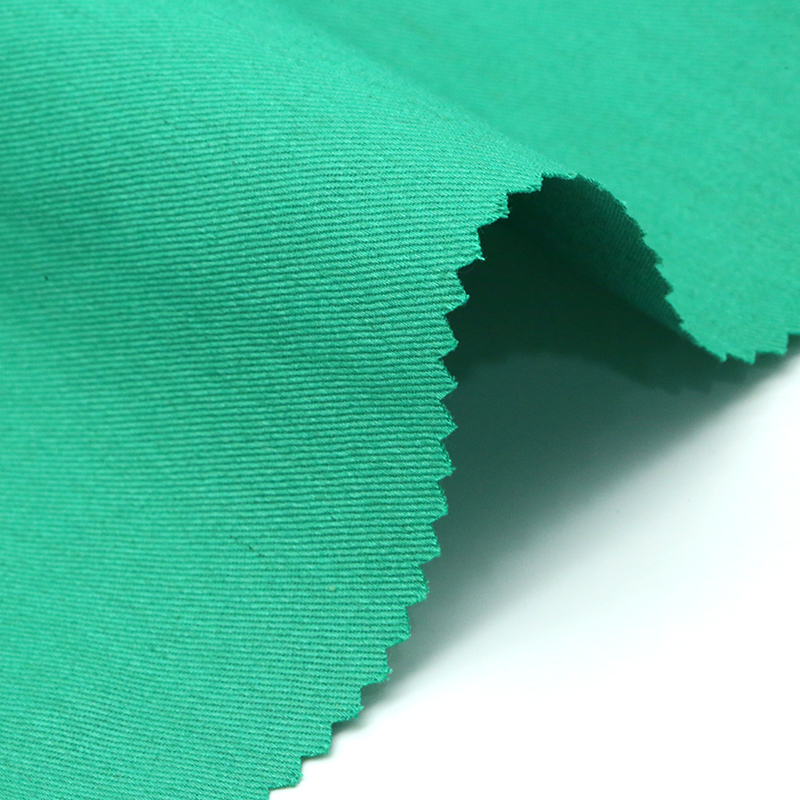
Creating Your Own Waxed Canvas for Customized Projects
DIY Wax Canvas A Step-by-Step Guide to Creating Your Own Durable Fabric
Wax canvas, a robust fabric originating from traditional techniques, has gained popularity in recent years for its functionality and aesthetic appeal. With its water-resistant properties and distinctive texture, wax canvas is perfect for crafting bags, jackets, and outdoor gear. If you're looking to embark on a DIY project, making your own wax canvas could be a rewarding and practical experience. This article will guide you through the entire process, from selecting materials to applying the wax.
What Is Wax Canvas?
Wax canvas is cotton fabric that has been treated with a wax coating, making it both durable and water-resistant. The wax gives it an aged, vintage appearance, and over time, it develops a unique patina that enhances its character. This versatile material is popular among outdoor enthusiasts, artisans, and eco-friendly fans. Wax canvas is not only strong but also environmentally friendly, as the wax treatment is often derived from natural sources.
Materials You'll Need
1. Cotton Canvas Fabric Choose a heavy-duty cotton canvas, preferably at least 10 oz, to ensure maximum durability. 2. Beeswax Opt for high-quality, food-grade beeswax for the best results. You can find this at craft stores or online. 3. Paraffin Wax Mixing beeswax with paraffin helps achieve a proper consistency and improves water resistance. 4. Double Boiler This will help melt the wax without exposing it to direct heat. 5. Paintbrush or Roller For evenly applying the wax onto the fabric. 6. Iron and Parchment Paper This is useful for setting the wax and creating an even finish. 7. Cargo or Garden Gloves To protect your hands during the waxing process. 8. Scissors To cut the canvas to your desired dimensions.
Step-by-Step Process
Step 1 Prepare the Fabric
Begin by cutting your cotton canvas to the desired size for your project. Whether you’re making a bag, a jacket, or an outdoor tarp, ensure the edges are straight and the fabric is clean. Pre-washing the fabric is advisable to remove any dirt or oils that could interfere with wax adherence.
Step 2 Create the Wax Mixture
In your double boiler, combine equal parts of beeswax and paraffin wax. The ratio will depend on how stiff you want your canvas to be; generally, a 50/50 mixture works well. Heat the wax on low until completely melted, stirring occasionally to mix thoroughly.
Step 3 Apply the Wax
diy wax canvas

Once the wax is melted, use a paintbrush or roller to apply a thin, even layer onto one side of the fabric. Work quickly, as the wax will begin to harden as it cools. Ensure that the entire surface is covered, paying special attention to the edges. For added water resistance, you can apply multiple layers, allowing each layer to cool before applying the next.
Step 4 Set the Wax
To set the wax into the fabric, place a piece of parchment paper over the waxed side and use an iron on a low setting. Gently glide the iron over the parchment paper to heat the wax further, allowing it to penetrate the canvas fiber. Be cautious—excess heat can burn the fabric or cause the wax to smoke.
Step 5 Cool and Inspect
After setting the wax, allow the fabric to cool completely. Inspect your work to ensure an even application. If certain areas look less waxed, reapply the wax mixture, and repeat the setting process.
Final Touches and Usage
Now that your waxed canvas is complete, it's time to turn it into a project. Whether sewing a new bag or creating a waterproof cover, the possibilities are endless. One of the best features of wax canvas is that it becomes more characterful with use. Scratches and scuffs will add to its charm—embrace the wear and tear!
Care Instructions
Taking care of your wax canvas is simple. Wipe it down with a damp cloth when dirty and re-wax every few months to maintain its water resistance and aesthetic appeal.
Conclusion
Creating your own wax canvas is a fulfilling DIY project that results in a functional and stylish fabric. With just a few materials and some patience, you can craft durable, water-resistant items tailored to your needs. Happy crafting!
-
Versatile Usage & Applications for Modern Textiles:Poly Cotton FabricNewsJul.07,2025
-
Types of T-Shirt Fabrics: A Comprehensive Guide for WholesalersNewsJul.07,2025
-
The Versatility of Light Grey Fabric in Fashion & ApparelNewsJul.07,2025
-
The Versatile World of Fabrics: Kala Cotton Fabric & MoreNewsJul.07,2025
-
Poly Spandex Fabric: The Ultimate Guide for Wholesale BuyersNewsJul.07,2025
-
Fabric Medicine: Healthcare Upholstery's RoleNewsJul.07,2025
-
Hebei Niuyuan Technology Co., Ltd.: Your Trusted Partner in Sustainable Textile MaterialsNewsJun.27,2025


